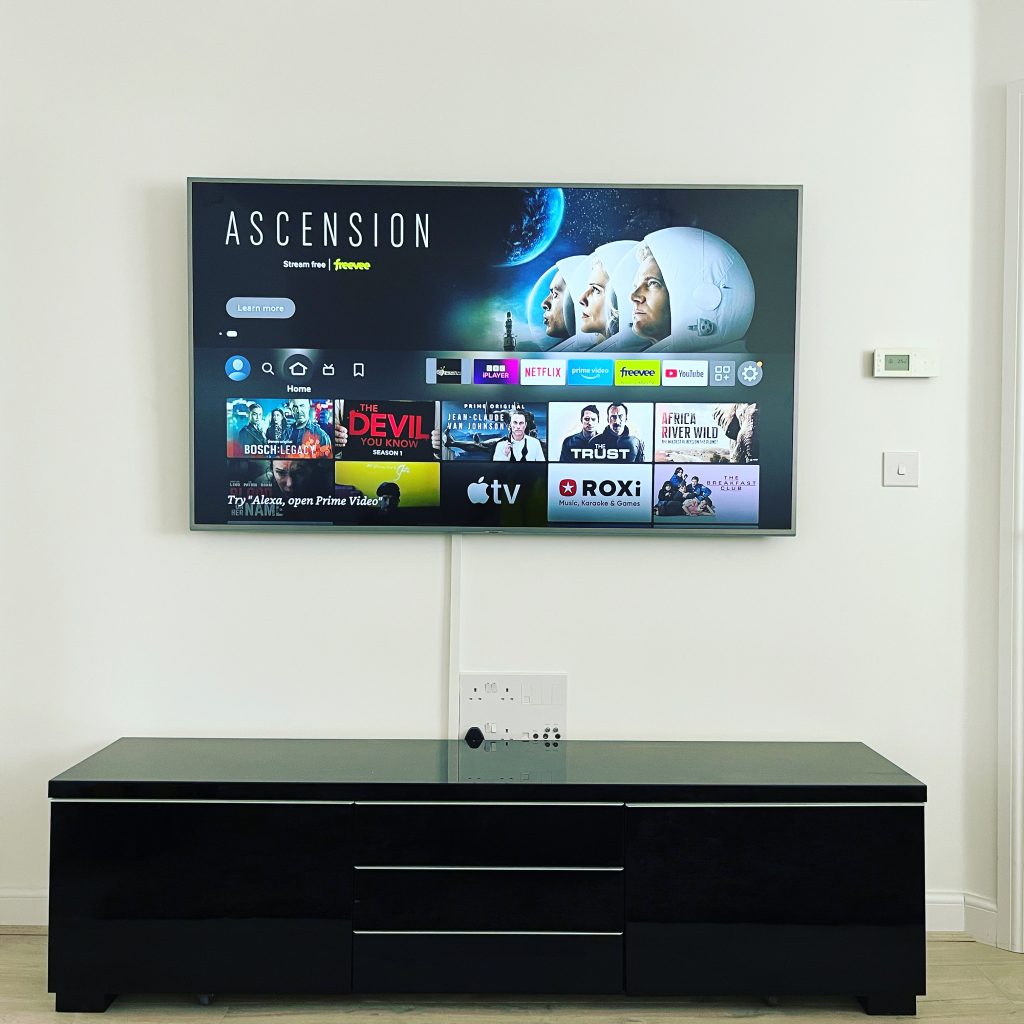
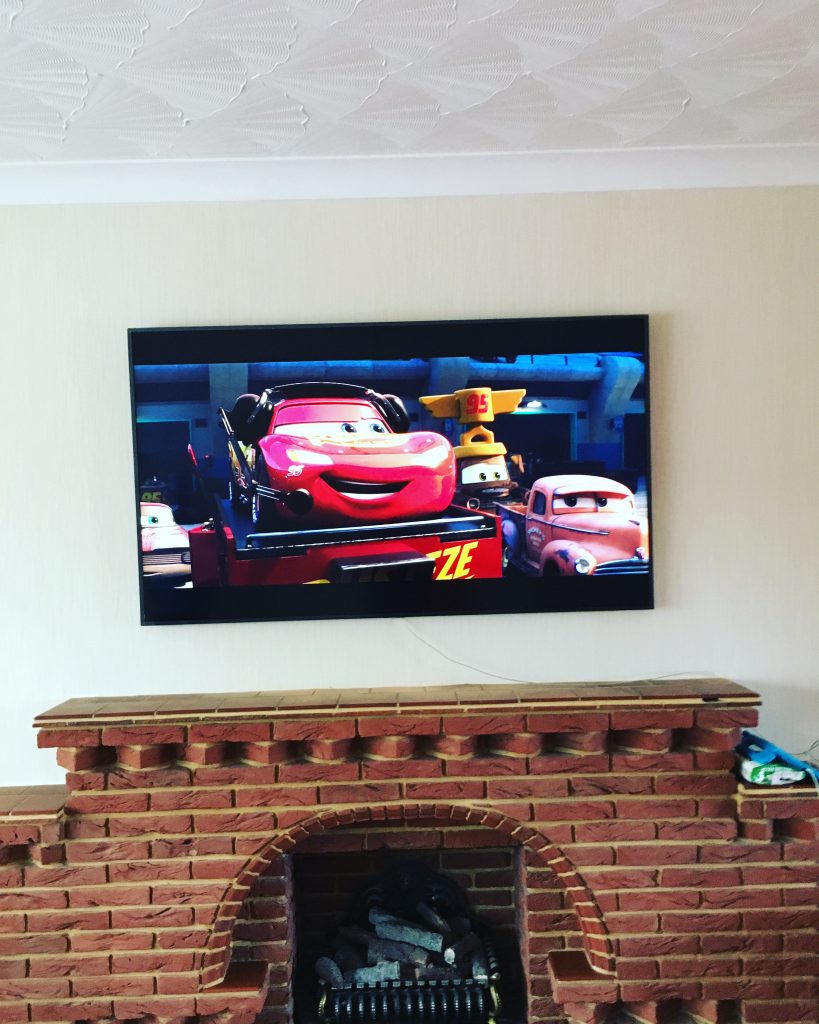
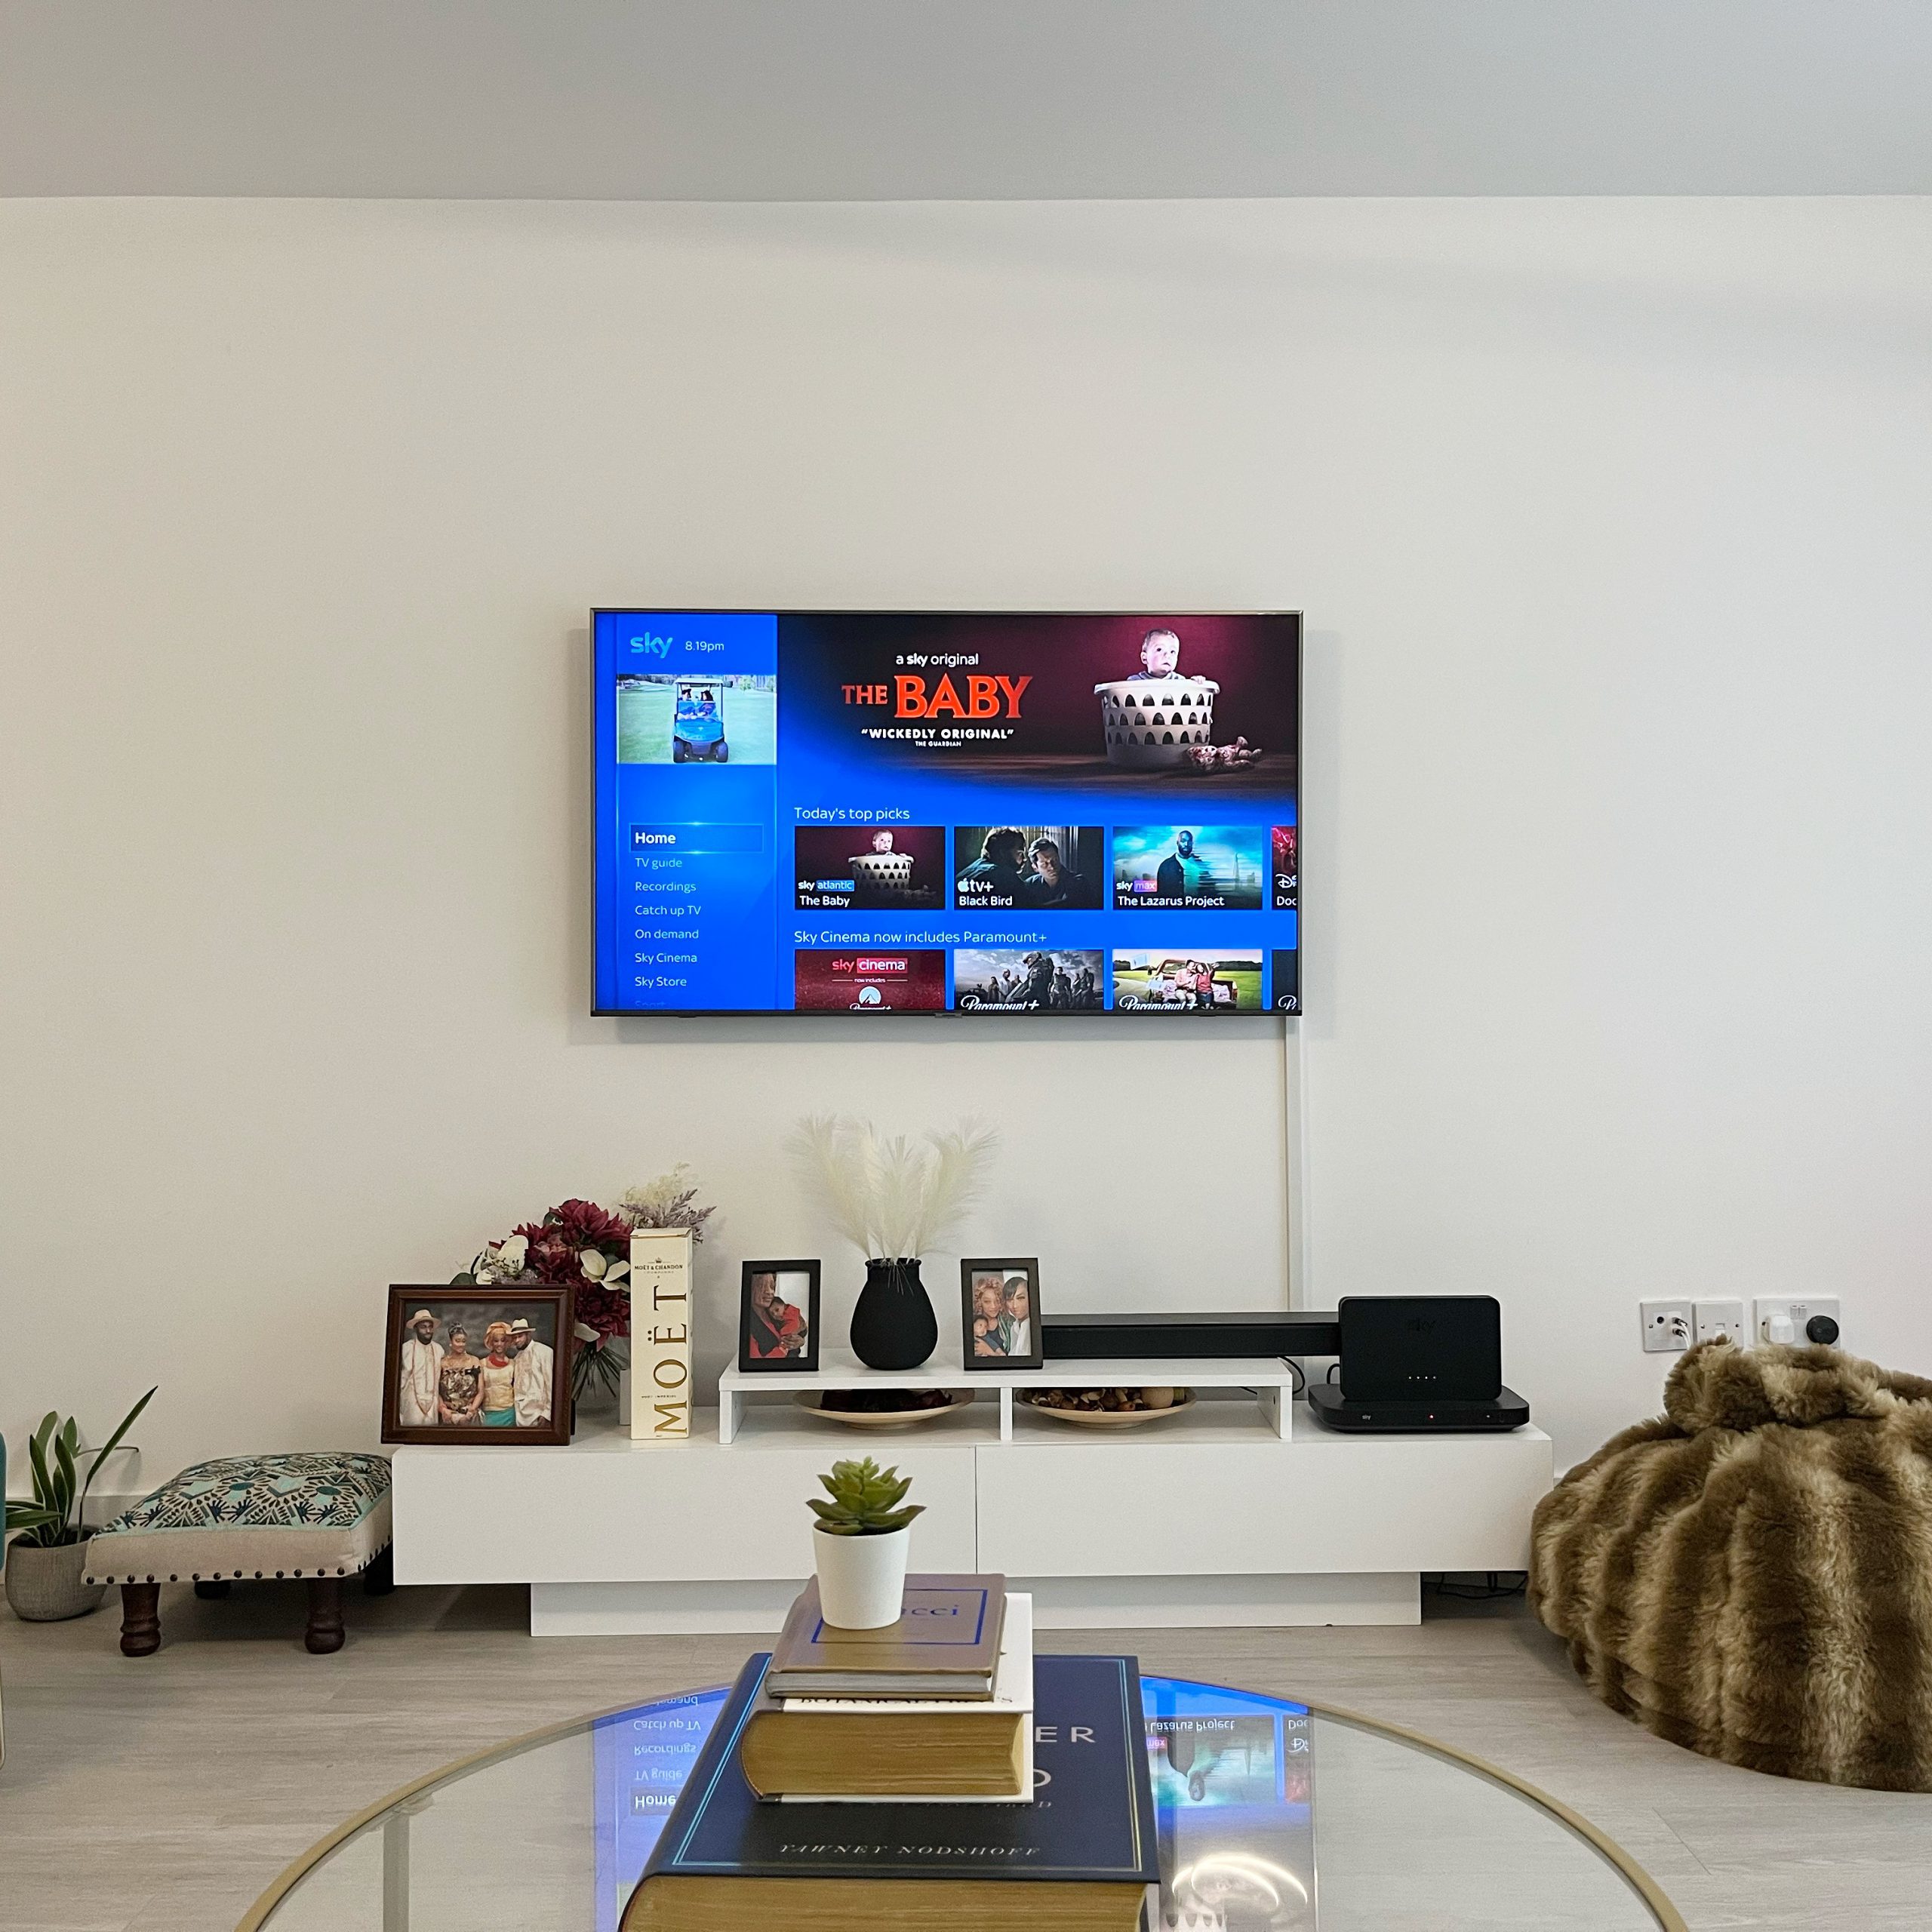
Ready to transform your brick fireplace into a cozy TV hangout? With the right tools and the proper precautions (and a little help from a friend!), you can mount your new TV with no trouble at all. From initial measurements to installation, we’ll walk you through everything you need to know about this DIY project so you can get to relaxing and unwinding in front of the big screen.
Proper spacing protects your TV from heat and smoke damage. Ideally, your TV should be far enough from the fireplace to prevent the heat from affecting the screen. To be safe, hang your TV at least 42 inches (106 cm) above the ground and at least 12 inches (30 cm) above the fireplace.[1]
- Make sure there’s an outlet close enough to the installation position for at least an extension cable. If there isn’t one, you may need to hire an electrician to install a new outlet.
- Having a mantle that’s at least 2.5 in (6.35 cm) wide can help protect the TV from the heat produced by the fireplace.
- Set up fan help prevent the fireplace heat from rising directly in front of the screen.
- If you’re worried about the mortar between the bricks holding, test it with a hammer drill by drilling a hole into it that’s out of sight (somewhere behind where the TV will go). If the mortar is flaking and brittle or cracking along the edges, it’s probably too thin to support a TV


Hold the bracket in place against the wall and mark the holes with a marker. Choose a wall mount made from high-quality materials (like stainless steel) that can support the weight of your TV. Use the wall bracket that comes with the mount as a guide for the position of the holes. Then, use a level to confirm that the holes are straight and spaced correctly for your mount.
- Try to position your holes in the brick itself rather than the mortar in between. Mortar is much softer than brick, so it’s less likely to hold a lot of weight.
- Strips of tape can also work as a marker.
A hammer drill and masonry drill bits help cut through brick more easily. Start by gently pressing the drill trigger to get the initial holes drilled. Then, press firmly to drill the rest of the hole into the brick. Plan to use either concrete screws or concrete strike anchors (that come with a washer pre-attached) when working with brick.
- Check the packaging that came with your concrete screw or anchor to confirm how deeply you need to drill. It can also help to place the screw/anchor alongside your drill bit to measure the length and then wrap painter’s tape around the circumference of the bit (so it matches up with the length of the screw). Once you reach the tape, you’ve drilled deeply enough.
- Slip on a pair of safety glasses to protect your eyes from dust, and have a broom or shop vac on hand to clean up the mess.


Use your pre-drilled holes and the bracket openings as a guide. For concrete screws, use a drill to secure them into the pre-drilled holes. For strike anchors, use a hammer or rubber mallet to knock the spikes into the pre-drilled holes. Once the spikes are all the way in, use a wrench to tighten the screws around the spikes. Both concrete screws and concrete strike anchors are removable, so it’s okay if you don’t position them right on your first try.
- For screws, have a #3 Phillips-head bit ready to go.
- Ask a friend or family member to hold the mount in place while you drill the screws in or hammer in your wall anchors.
- Avoid sleeve anchors and drive anchors. While they can handle a lot of heavy-duty strength, they can’t be removed once they’re hammered in.


